In this article, you will learn how to uninstall Plagiarism Checker X (PCX). It is a great tool for checking and analyzing plagiarism in any type of written content, even whole websites and URLs. It uses innovative technologies like AI enabled Deep-Learning and advanced algorithms to offer one of the most accurate, fast, and comprehensive plagiarism checking tools available.
If it ever needs to be uninstalled from your device for something like a reset, there are a few simple ways to do it before the reinstall.
Performing a reset on a software can sometimes be a good option if you are having trouble with it. The good way is to first uninstall and then do a fresh install. Let’s cover the three main ways to remove the Plagiarism Checker X on Windows 11,10, 8.1 and 8).
Step 1
One way to find the installed software is by clicking on the start menu or by pressing the Windows Key from keyboard. This opens the Windows Search bar and you can type in ‘Plagiarism Checker X’.

When the icon shows up, right click to find the uninstall option and click it. You will be directed to the Programs and Features section of the Control Panel as the next step.
Step 2
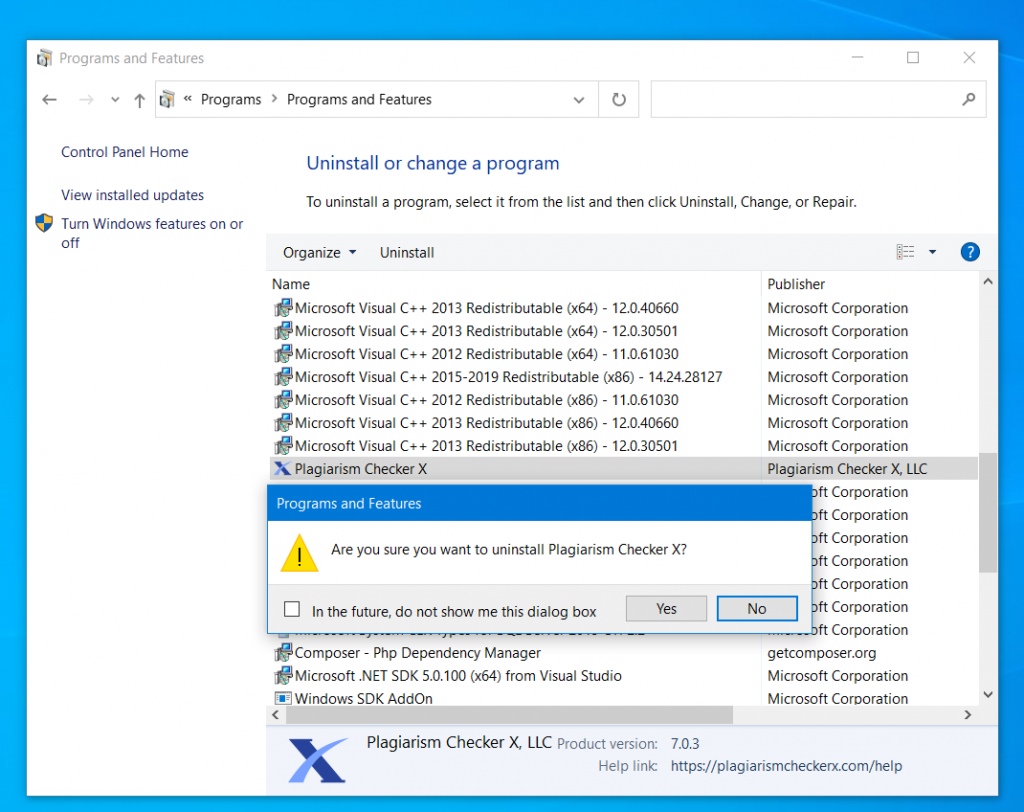
From there, find and select Plagiarism Checker X in the list of software and double click on it to uninstall.

Step 3
There will be a prompt asking you to confirm your decision, simply click yes and follow through with any instructions that come up as the uninstall wizard does its job.

Step 1
Press Windows Key to open the Start Menu and type Control Panel and click it to open.

Step 2
Once it is opened, click on Uninstall a program and it will go to Programs and Features.

Step 3
Like before, locate Plagiarism Checker X in the list of software and just double click on it.

Step 4
It will prompt you to confirm your decision, click yes and follow through with the uninstall wizard.

The simplest way to uninstall any program, application and software from your device is to use the Windows Settings app.
Step 1
Press Windows Key + I as a shortcut to open the Settings app. Or Apps and Features can be directly accessed by pressing Windows Key and then typing on Apps and Features.

Step 2
Then, click on Apps to open the Apps and Features setting section. This will open the whole list of things installed on your system. Find Plagiarism Checker X by scrolling through the list or type it in the search bar.

Next, click on Software Icon and then on Uninstall once the box expands. It will ask to confirm the uninstall command, so follow through with any prompts and instructions that show up. Upon clicking the Uninstall button, software will be removed from the Computer.
Now you are free to reinstall the app again.
If you need to learn how the app is installed, please have a look to the following article?
https://plagiarismcheckerx.com/help/how-to-install-plagiarism-checker-x
Please contact our support team and we'll connect you with one of our advisors. Contact us